Technological innovation is a never ending process of iterative design.
The products we use evolve and change, often incrementally and sometimes
drastically, over time. This leaves the engineer with the normally tedious
task of backtracking through old projects to update their part
designs.
Typically an engineer may spend countless hours manually reviewing and
updating previous projects every time a new part is released. In SOLIDWORKS Electrical, you can reduce this tedious process to a rapid workflow that only takes a
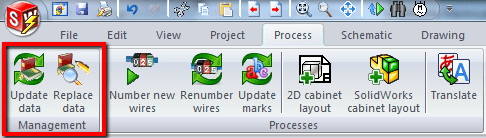
few minutes. Update and replace part data using one of two tools: the
“Update data” tool or the “Replace data” tool, both located
under the Process Tab as illustrated below.

Suppose the project has a large number of identical components and it’s your
job to ensure that each component in the system has the correct manufacturer
information. Unfortunately, in the time since the original project was put
together, some of the components manufacturer’s information has changed. For
instance, the latest version of a component in the system has additional
circuits you can utilize to reduce the number of overall components and
simplify the design. One way to update the project to reflect such a change
would be to go into the symbol’s properties and modify each component
individually. This method only works for a very small number of components
and situations, and even then is still tedious.
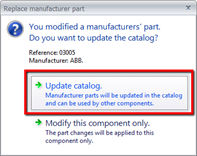
A much faster method would leverage the “Update Data” tool. Simply
open up the part properties of the component in question and make the changes
and save the part. When prompted, chose to update the catalog, as shown at
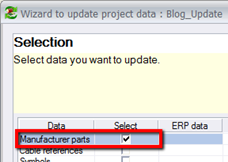
left. Now click on the “Update Data” tool, click “next”, and check the
box next to “Manufacturer Parts” as shown at right.
Clicking “next” one more time brings us to the following screen.
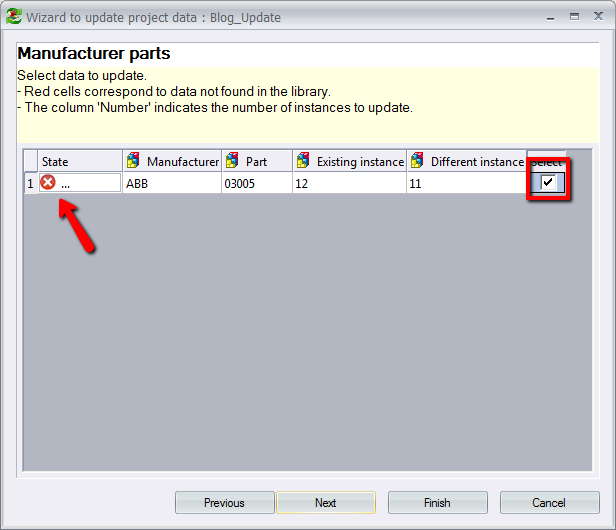
Presented on this screen are a couple of interesting things to note. First,
all of the parts with manufacturing information that differs from the database
will be presented here. Additionally, the total number of instances and the
number of instances that have different information for each part are
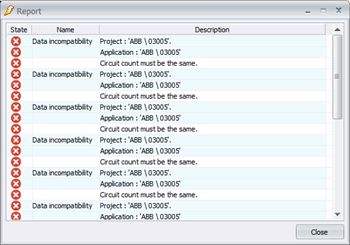
displayed. Clicking on the state field takes us to the error report. This
particular error is letting us know that the circuit count doesn’t
match. We wanted to add circuit information to the manufacturer part, so we
can safely ignore this error and close the report. Checking the box beneath
the “select” column and clicking “finish” will complete the process and force
all of the components you selected to update all the instances of the part in
the project.
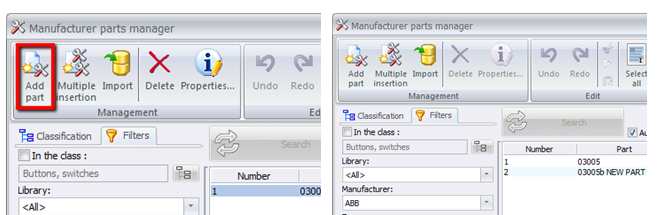
If the task was to add a new part entirely instead of correcting manufacturer
data, the workflow would be very similar. Open the
“Manufacturer Parts Manager” and choose a part most similar to the one
being created, if the new part is simply a revision of the old one. Click on
the part from the list to highlight it and click “Add Part”. By
highlighting the component first, the old part information will automatically
populate the property fields of the new part being created, such as the class.
This is a nice time saving trick but not necessary if the new part is
completely different. Make the required changes for the new part in the
property fields and click “save”. Now, when looking at the
“Manufacturer Parts Manager”, the new version also shows up.
Clicking on “Replace Data” will present a similar screen to the update
tool. Clicking “next”, selecting the type of part to replace, and then
clicking “next” one more time will get to this screen:
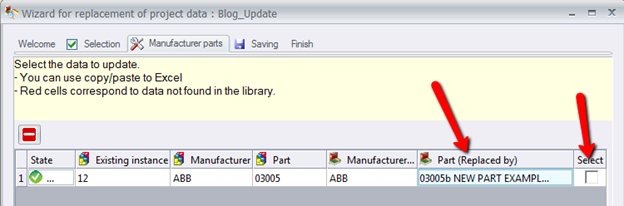
From here, it is just a simple matter of clicking on the “Part (Replaced by)”
field, and selecting the part that was just created. Check the “select” box
and finish. Like a case of what Einstein called “spooky action at a distance”,
all 12 of the pre-existing instances of this part have been re-associated with
the new part that was just created.
The next time that a large number of components need to be updated or fixed,
remember the “Update” or “Replace” tools in SOLIDWORKS Electrical to quickly
and easily make all of the required changes at once.
Interested in learning more about SOLIDWORKS Electrical? Check out a
Hands-on Test Drive at an office location
near you, or
watch a video tutorial
on our website.